Control an HS100 switch from Node-Red via TP-Link Cloud API
In this post I’ll show how to create a Node-Red subflow to control a TP-Link switch (power on/power off), using the TP-Link Cloud API.
First, we’ll create a new flow that looks like this:
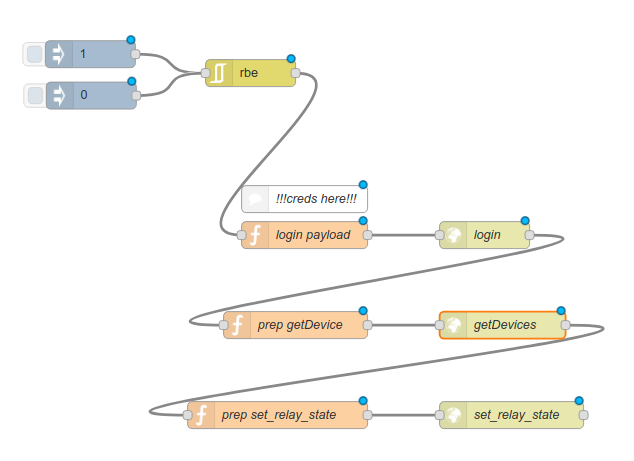
To help with the process, you just have to create a new flow in Node-Red, go to this Gist and import the flow from clipboard (copy the following block, and in Node-Red go to the Menu, Import, Clipboard).
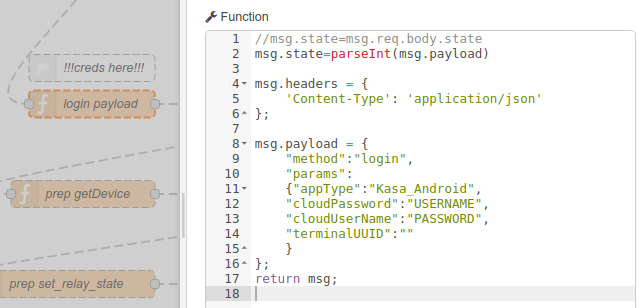
Double click on the login payload node to edit its code, and replace the USERNAME and PASSWORD strings with your own TP-Link credentials, as shown below:
Now select all the nodes on the flow, and go to Node-Red menu, Subflow, Selection to subflow. That will create a subflow with all the nodes and place it on the palette as a new custom node.
Once in the subflow, we’ll add 1 input and 1 output nodes (from the toolbar):

We’ll link the input to RBE node and the output to set_relay_state node, as shown:
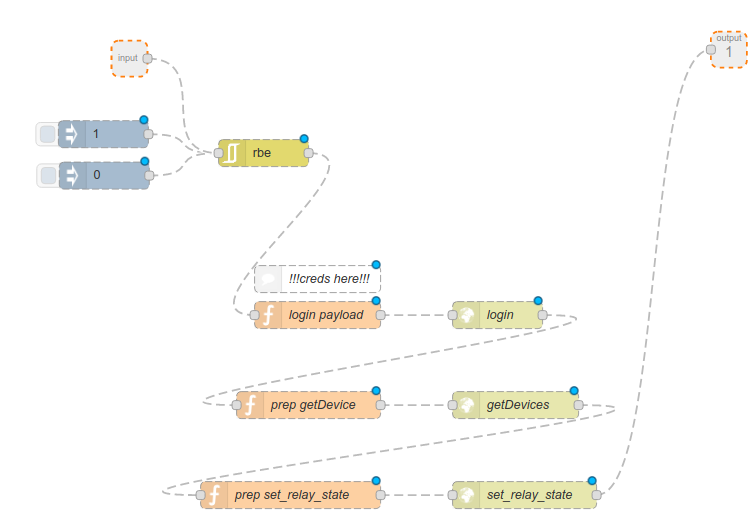
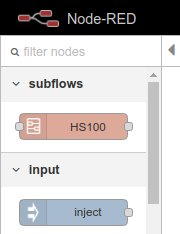
We can also rename the subflow. In my case I called it HS100. Notice how it appears on the palette as a new node type:
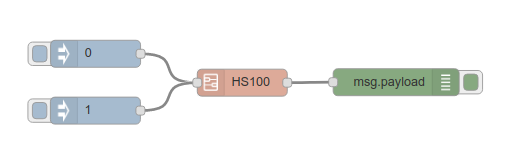
Now we can add this new HS100 node to any Flow in our Node-Red. For example, I made this quick HS100 Hello World flow:
Now you can easily do all kind of great stuff with your TP-Link Cloud devices, and control them from MQTT, a POST payload, a Telegram bot or even Google Assistant…
For more information on the TP-Link Cloud API to control smart things, go and read my previous post series on the TP-Link Cloud API and if you code in Node.js you can leverage my open source tplink-cloud-api npm module.